I curse the times when Solidworks makes fabrication of an object seem 10x easier than it actually is! These dang airfoils have been the bane of my existence here for the past few days! I spent a little bit of time on Wednesday trying to figure out the best way get the shape I wanted. It was a process, let me tell you! I've used so many tools these past few days trying to get the shape I wanted. Each tool had it's ups and downs, but after about three solid days of playing around, I think I have finally figured out the best way to trim these airfoils down. I've outlined below.
First things first, what do I mean by trim down? The total circumference of a 4" PVC pipe is somewhere around 14.5" long. My airfoil needs about 14" of PVC to make a half. Therefore, I need to trim off about 0.5" of material in order to make sure my two halves will fit together. When I molded the PVC, I left just a tad bit on the front, and about a pinky's width worth on the back. However, I can't just casually hack off this amount. In order for the two halves to be mated properly, I need these cuts to be flat, straight cuts. That way, when I join the two halves together, there is a nice flat surface for the PVC glue to stick to on either side of the PVC joint.
However, the new shape of the PVC made it very difficult to get such a cut. For one, the new shape was hard to clamp down for any sort of hand guided sawing (like a jig saw or a handheld circular saw). On Wednesday, I spent about two hours trying to set up a jig-like clamping system. I unfortunately didn't take a picture of it. It was definitely a piece of work. To be honest, it worked for it's purpose. I was able to mount a wing securely so that I could slice a straight line with a jig saw... but even then, the cut angle was not ideal. Plus the line... well it seemed straight at the time, but wasn't actually, so that was sad...
My next attempt was a bit better. I was taking with Joe on Friday and he suggested a hand help multitool. It was really just a half circular blade that vibrated really really quickly, but it definitely worked. The main downside to it though was that it was hard to get a good view of the cut. I could get the cut angle I wanted, but there was no way to see the blade in reference to the piece, so the height of the cut got really wonky really quickly. I was able to render some of the waviness with a sander, but even then... things started smelling like silly string, and I figured that was a bad sign so I stopped!
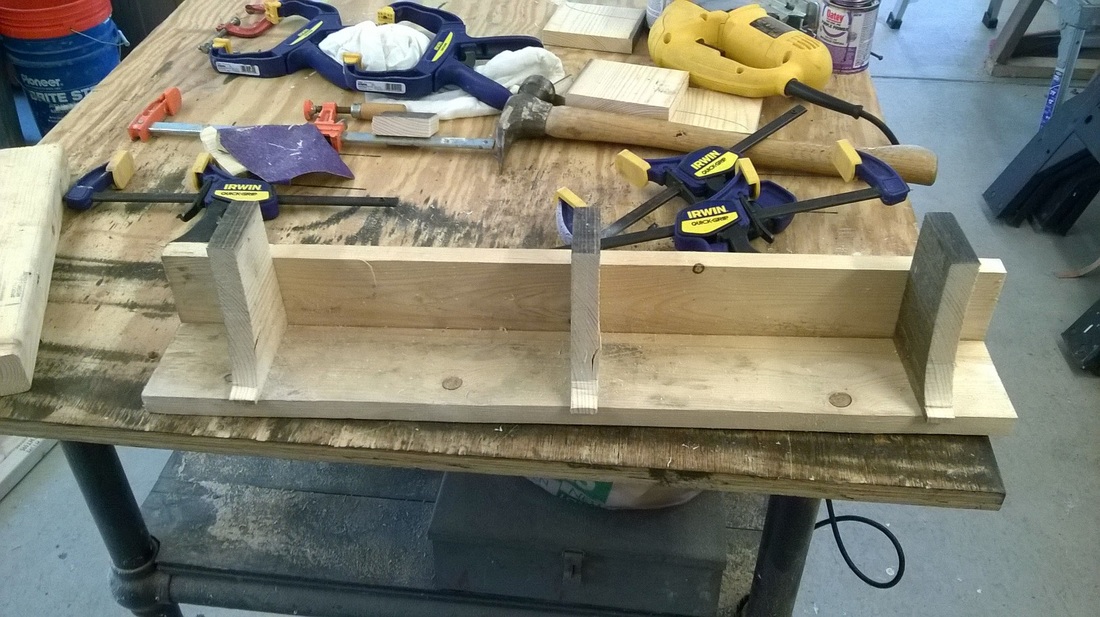 Nose Edge Sled. If you look closely, you can see the airfoil shape cut into the three, squarish pieces of wood. 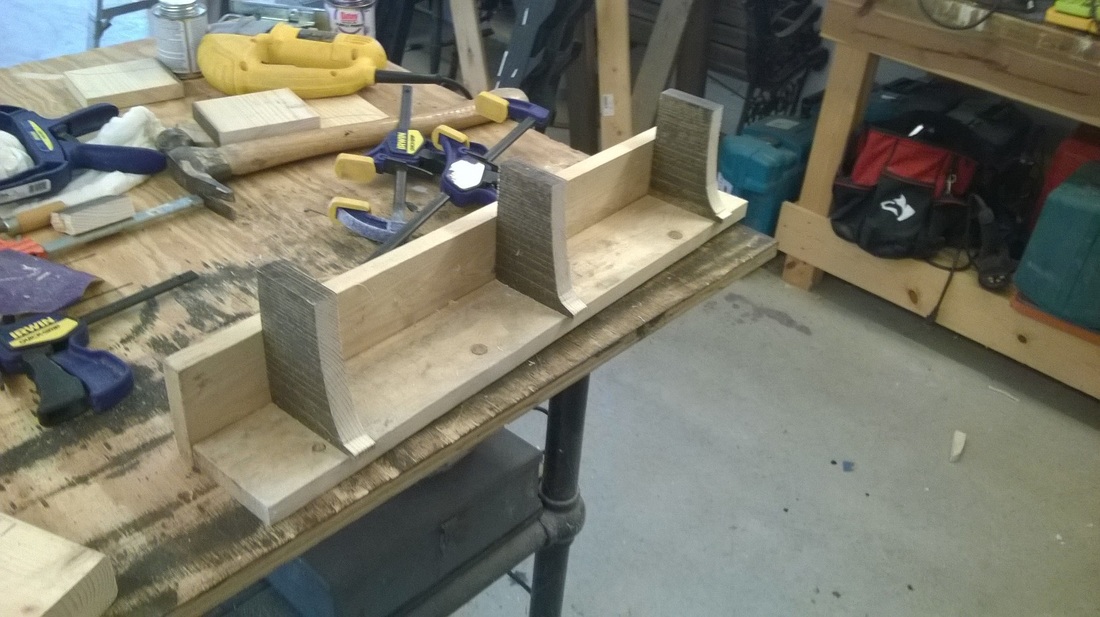 Nose Edge Sled from a different angle. The airfoils shapes can clearly be seen. 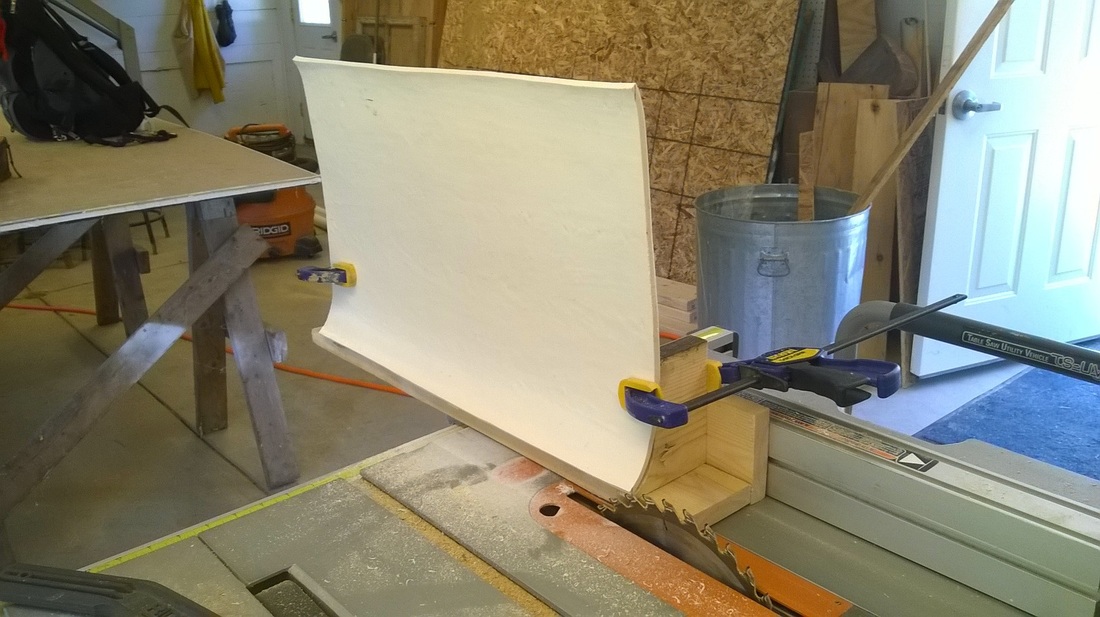 Sled with airfoil clamped in. You can see where the sled butts up against the fence to allow the saw to cut a nice, straight cut out of the PVC. 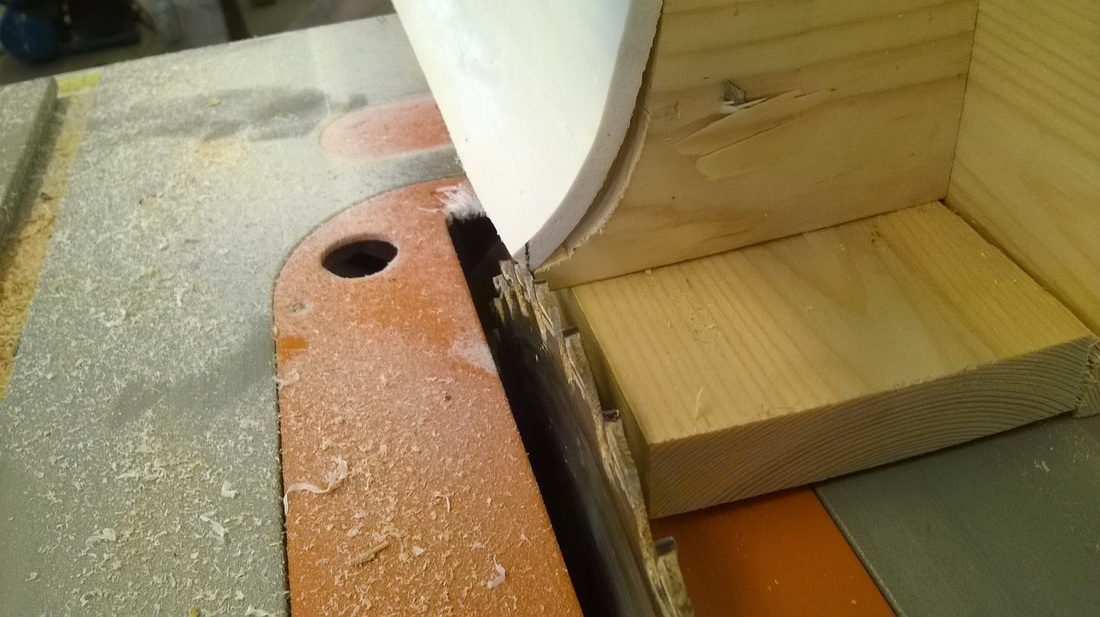 Close up of the jig and PVC airfoil next to the table saw blade. As you can see, the saw will remove all material to the left of the black line that I drew in the edge of the PVC. That lines marks out the good parts of the PVC airfoil.  Operator's view of the sled with the airfoil clamped in. As you can see, the sled provides excellent protection for the hands against the saw blades. | Then, today happened, and I think I solved a lot of the problems! So, one of my favorite woodshop tools is the table saw. I like this tool a lot because it is very versatile... you can make really nice tenons using a table saw instead of say a bandsaw or a chisel. In any case, their main purpose though is to make long straight cuts. Generally, the blade can swivel to give you an angled cut (aka a miter cut...) but again, if you only need a short angled cut, you'd be better to use the miter saw. Nonetheless, it is a useful tool depending on your type of cut. In my case, I need a long, straight cut... My airfoils are 22" long and the cut needs to be flat against a table top if you set it down.... so a table saw sounds like a great option except for the fact that it's not a normal shape. In fact, the very shape of my material makes it dang near impossible to use anything... which is why I made a sled today! What a sled allows you to do is to make a cut on a piece where the sliding edge is too small to reliably brace it against the fence. Since a small sliding edge would likely bend away from the fence as you pushed your piece to the saw, a sled allows you to brace your piece against a different contact point and then use the sled's edges to guide the piece against the fence. In my case, my sliding edge wasn't 1) a true edge (i.e. perfectly straight) and 2) in the right orientation to get the cut angle I needed. So, I made a sled such that I was able to clamp my piece to the sled, and then slide the whole sled against the fence (which was a true edge) to get my straight cut. In fact, I got the added side benefit that I was able to protect my fingers from the saw as well. I used three pieces of shaped wood to give the sled the internal contour I needed to clamp my piece in the right orientation. Those three pieces eventually doubled as handles to both guide the slide forward and apply pressure against the fence to ensure a straight cut! I ended up making two of these sleds: one for the cut needed on the nose of the airfoil and one for the cut needed on the tail of the airfoil. Both worked very well. By the end of the day, I was actually able to break out the PVC glue and cement and glue two of the airfoils together. I FINALLY MADE A BLADE!!!! Only 8 more to go! Here's looking to tomorrow! 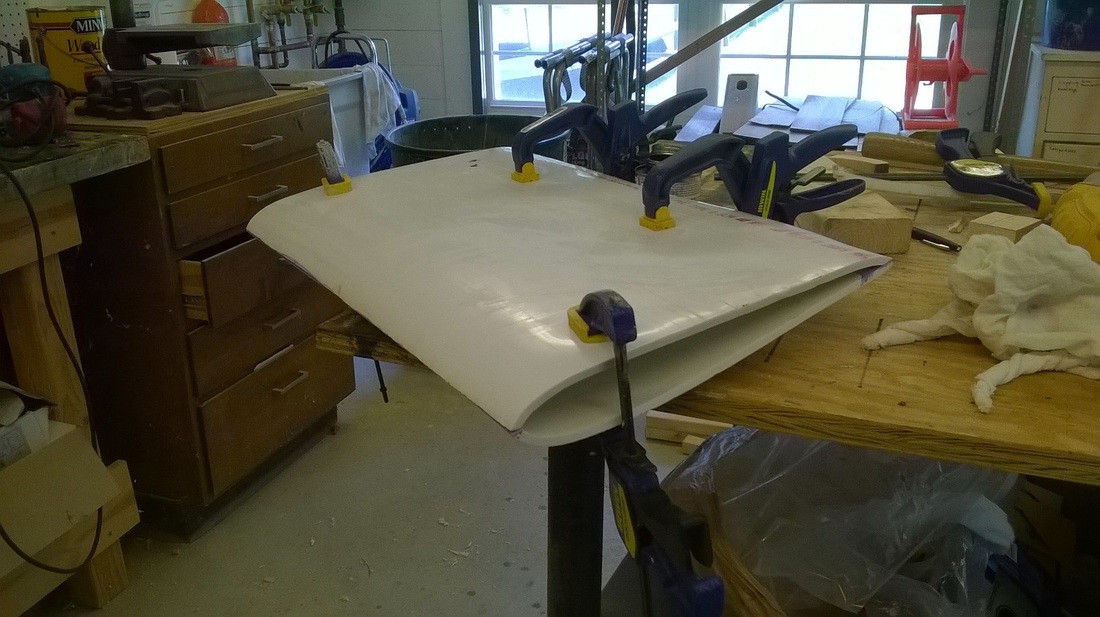 FINAL PRODUCT!!!! I was finally able to glue two of the airfoils together into a single blades. From here, we will need to grind the nose into a nice, round shape. Also, the tail will also likely need some grinding to get ride of any warping. |
 RSS Feed
